REVIEW · SEMINYAK
Bali Leather Craft Workshop – 6 hours ( canggu / seminyak)
Book on Viator →Operated by Leather craft workshop @ Kaula Bali · Bookable on Viator
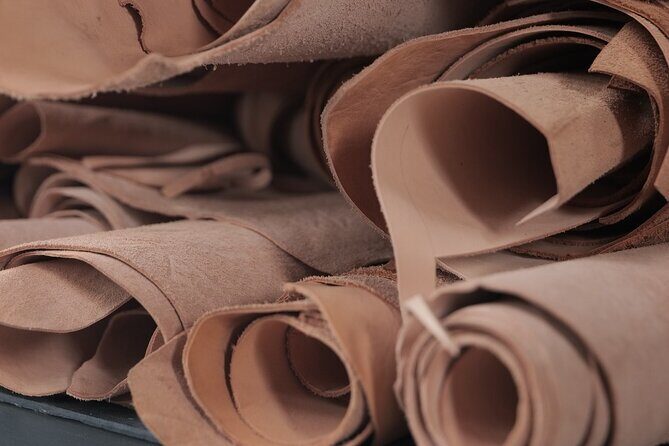
Handmade leather, calm rice-field energy. In Seminyak at Kaula Bali, you spend about six hours learning to cut patterns, dye leather, sew by hand, and finish a real piece you can use at home. I love the patient coaching I keep hearing about from the instructors, especially Abenk, and I also love the customization you get to control, like leather texture and dye/color choices.
If you’re planning your day around this class, the main thing to watch is comfort: it can be very hot during the session, and the workshop doesn’t magically solve your lunch situation. Another small heads-up is that you may want to rely on your map app, since arrival signage can be limited.
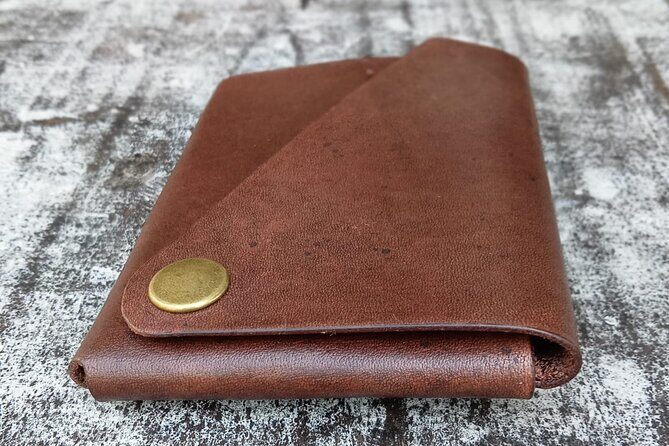
By the end, you return to the same meeting point and leave with a tangible small leather item, often things like a card wallet, purse, belt, or even a knife sheath—made by your own hands with guidance.
In This Review
- Key highlights at Kaula Bali Leather Craft Workshop
- Entering Kaula Bali: rice-field calm in Seminyak
- The full 6-hour leather process, step by step
- 1) Pattern cutting: start with shape and function
- 2) Coloring and finishing: choose your look early
- 3) Prep for stitching: make sewing easier
- 4) Hand stitching: learn a skill you can repeat
- 5) Edge polishing and varnish: make it look finished
- 6) Hardware and accessories: personalize your final touch
- Customization that turns a souvenir into something usable
- Meet the instructors: Abenk and Opik’s teaching style
- Logistics that actually affect your experience
- Value check: is $46 worth it?
- Who should book this leather workshop in Canggu/Seminyak?
- When the workshop may feel less ideal
- Should you book Kaula Bali Leather Craft Workshop?
- FAQ
- How long is the Bali Leather Craft Workshop?
- What time does the workshop start?
- Where do I meet for the workshop?
- What will I learn and make during the class?
- Is it a private activity?
- What do I need to know about tickets and transport?
- Can I cancel for a full refund?
Key highlights at Kaula Bali Leather Craft Workshop
- Hands-on leather skills in one session: cutting, dyeing, stitching, and finishing all in about 6 hours
- You can personalize the look with leather texture choices and dye/thread colors
- Small private class feel since it’s only your group during the workshop
- Edge finishing and varnish so your project looks professional, not homemade
- Instructors who slow down and teach (Abenk and Opik are specifically mentioned)
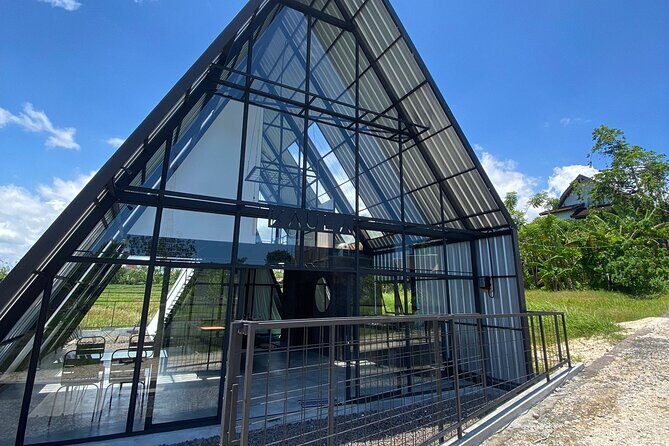
Entering Kaula Bali: rice-field calm in Seminyak
Most Bali days pull you in every direction. This one is different. The Kaula Bali workshop is set up so you can focus on your hands and your materials, away from the loud push of the beach-and-motorbike chaos.
You start at Kaula Bali (Gg. Yogya, Kerobokan Kaja, Kec. Kuta Utara, Kabupaten Badung, Bali 80361). The schedule starts at 10:00 am, and the activity ends back at the meeting point, which makes the whole day easier to plan. It’s also described as near public transportation, so if you’re moving around without a private driver, you’re not trapped.
The setting is part of the value. Several people point out the workshop feels like a quiet home/studio escape, with a peaceful atmosphere that helps you concentrate. That matters more than it sounds. Leatherwork needs patience—if you’re rushed, you make mistakes faster than you can fix them.
You can also read our reviews of more tours and experiences in Seminyak

The full 6-hour leather process, step by step
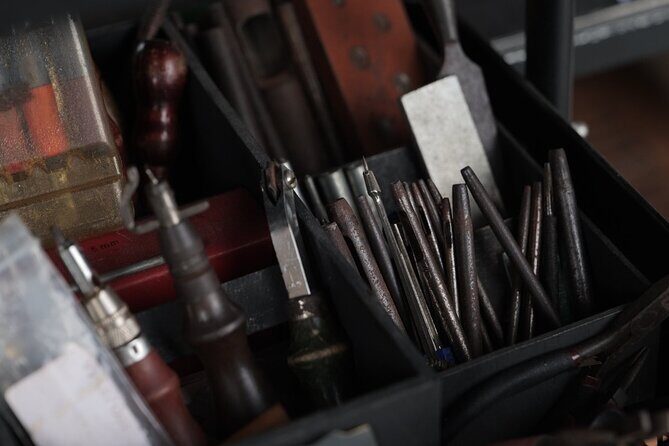
This workshop isn’t a quick demo where you stand back and watch. You follow the process from scratch to a finished item, with guidance at each step. Expect the session to move through a clear workflow: pattern cutting, coloring, preparing for stitching, sewing, edge finishing, and final hardware.
Here’s how the process typically unfolds during your roughly 6-hour class:
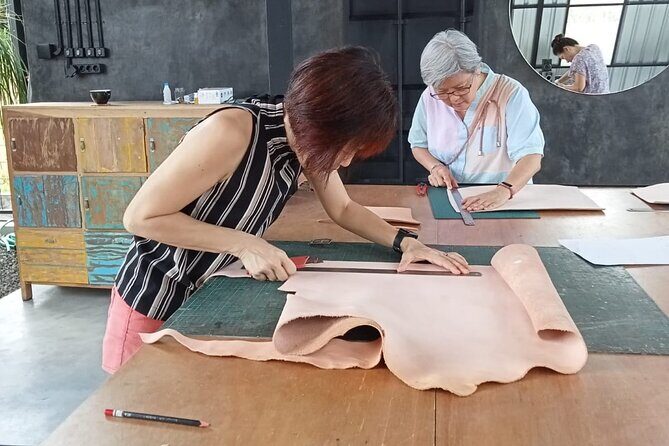
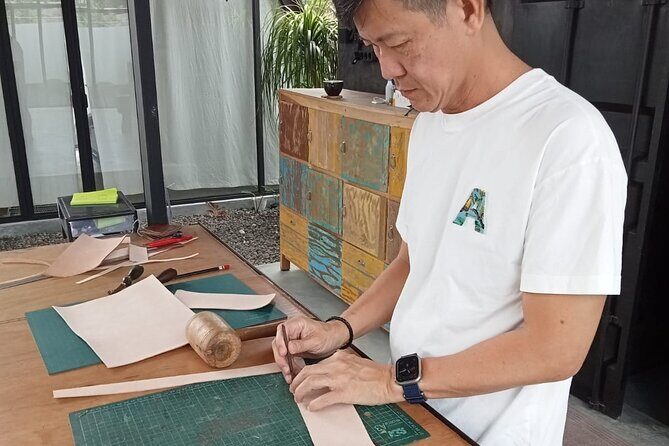
1) Pattern cutting: start with shape and function
You begin by learning how to cut the pattern to the right size and shape. This is where your project becomes real, not just an idea. Pattern cutting also helps you understand that leatherwork is practical: edges, thickness, and alignment all affect how your finished item sits and wears.
A small but important takeaway here is mindset. Good leatherwork starts with accuracy, not force. You’re learning to take your time with measurement and cutting lines so the later steps go smoothly.
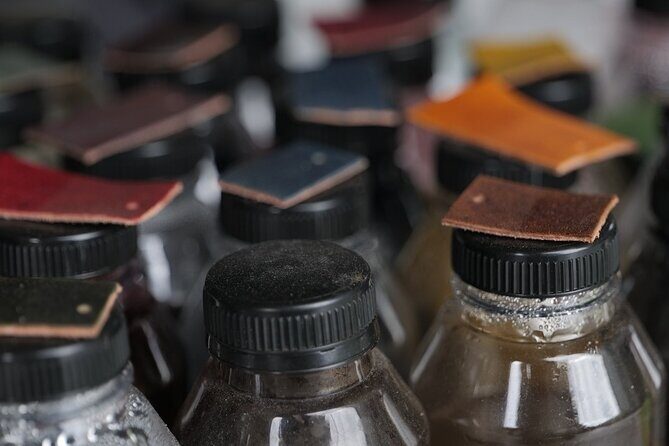
2) Coloring and finishing: choose your look early
Next comes adding color to the leather. You’ll choose from a variety of dyes and finishes, then apply them to get the look you want. People really mention the fun of dyeing, especially when they can customize the result rather than accept a fixed design.
This step is also a great moment to decide the vibe of your item:
- darker, more classic tones
- lighter, warmer shades
- a finish that feels more natural or more polished
Even if you don’t consider yourself artistic, this part is hands-on enough that your choices still matter.
3) Prep for stitching: make sewing easier
After coloring, you prepare the leather for stitching so the process is smoother and more precise. Leather doesn’t behave like fabric. If you skip preparation, stitching can pull, twist, or sit unevenly.
This part is valuable because it teaches you the hidden mechanics of leatherwork: getting holes, alignment, and readiness right before thread goes through. That’s also why it can feel relaxing—once the prep is done, you’re following a clearer craft path.


4) Hand stitching: learn a skill you can repeat
Then you sew leather pieces together by hand. You’ll use needle and thread, and the workshop guidance focuses on making a strong, durable join—not just a decoration.
This is the moment where many people slow down and enjoy the craft. Hand stitching is repetitive in the best way: you can see progress line by line. If you’ve never sewn anything before, you’ll likely be surprised by how achievable it feels when the instructor is patient and methodical.
5) Edge polishing and varnish: make it look finished
Once the stitching is done, you’ll polish the edges and apply a high-quality varnish to give a smooth, professional finish. This is a big deal visually. Sharp edges or rough finishes can make a project look unfinished even if the stitching is strong.
The varnish step is also about durability. A small leather item lives in bags, pockets, and daily use. Finishing helps it handle that reality better.
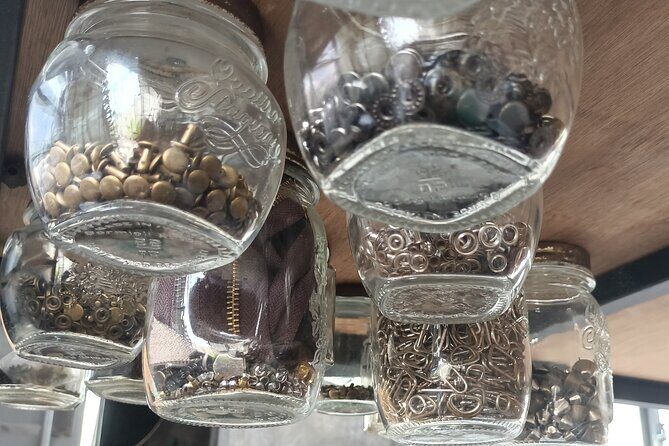
6) Hardware and accessories: personalize your final touch
Finally, you add finishing touches like snaps, buttons, or other accessories. This is where your item becomes truly yours. Even if you make the same basic type as someone else, the hardware choice and placement can change how it functions and how it feels in the hand.
Common items people end up making include wallets, card wallets, purses/bags, belts, jewelry, and even a knife sheath. If you want a practical souvenir you’ll actually use, this category is the sweet spot.
Customization that turns a souvenir into something usable
A lot of activities promise personalization but deliver a single minor choice. This workshop gives you real control points.
You can customize:
- the leather texture you’re working with
- the thread color
- the dye and finish for the color layer
- the finishing touches like snaps/buttons
That’s why people come away feeling proud. The customization isn’t only about appearance—it’s also about function. Thread color changes the visual strength of the stitching line. Dye choices change how the piece ages. Hardware changes how quickly you can open and close your item.
It’s also a good reminder that you’re learning a process, not just following instructions. When you understand the steps—cut, dye, prep, stitch, finish—you can repeat the skill later even if you don’t make another project right away.
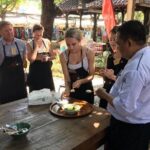
Meet the instructors: Abenk and Opik’s teaching style
In leatherwork, the instructor matters. You need someone calm who explains the why behind the how, because hand skills take a few tries to get comfortable.
The names that come up consistently are Abenk and Opik. People mention Abenk as encouraging and patient, and both names appear in the context of taking time to demonstrate and meet you at your level. That teaching style is exactly what you want in a hands-on class. If the pace is too fast, your confidence drops. If it’s too slow, you start losing the thread of the process.
Here, the tone sounds like steady coaching. You’re not being rushed, and you’re not left on your own. That’s the best setup for first-timers.
Logistics that actually affect your experience
This is a 10:00 am start and about 6 hours total, ending back at the meeting point. Because it’s a private tour/activity, it’s only your group participating, which usually makes the lesson feel calmer and more focused.
A few practical notes that can save your day:
- Heat matters: one of the clearest concerns is that it gets incredibly hot during the workshop. Wear breathable clothes and consider bringing a light layer for when you step between shaded and sunlit areas.
- Plan lunch: the session can include a midday break, and people suggest taking care of lunch yourself rather than assuming it’s handled for you. If the teacher can point you toward nearby local food, that can help you solve it fast.
- Bring your patience: even with guidance, leather takes time. If you arrive already stressed about your schedule, you’ll feel every minute.
Also, you’ll receive a confirmation at booking, and the workshop uses a mobile ticket. Near public transportation is a plus if you’re using buses or rideshare rather than having a driver.
Value check: is $46 worth it?
At $46 for about 6 hours, this workshop is priced in the range of a solid, hands-on skill day—especially because you leave with a completed small leather item created through a guided process. You’re paying for instruction, time, and the materials needed to turn leather into something functional.
What makes the value feel right is that it’s not passive. You’re not just watching someone cut and stitch. You’re learning the steps: pattern, dye, stitching prep, hand sewing, and edge finishing. That’s the difference between a quick craft souvenir and an experience that builds a real memory and a real product.
If your goal is a simple photo stop, this may feel like a lot of effort. If your goal is a useful takeaway and you like calm, focused activities, it’s very good value for Bali.
Who should book this leather workshop in Canggu/Seminyak?
This is a good fit if you:
- want a practical Bali souvenir you’ll actually carry
- like calm, hands-on activities more than crowded tours
- want to learn a small craft step-by-step
- travel with a friend or even as a parent/teen duo
People mention doing it with a teenage son, which suggests it can work well for teens too—especially if they enjoy making things and don’t mind sitting and concentrating for a few hours.
It’s also a smart choice if you’re staying in Canggu or Seminyak and need a break from the constant movement. The rice-field calm and quiet studio vibe make it feel like an intentional reset.
When the workshop may feel less ideal
This class is not a great match if:
- you hate working with tools or stitching (even with guidance)
- you’re arriving unprepared for hot conditions
- you want a very laid-back experience with minimal work
The workshop is hands-on by design. That’s what makes it rewarding. Just go in knowing you’ll be participating, not observing.
Also consider signage. Since arrival signage can be limited, you’ll likely feel better if you double-check your route before leaving.
Should you book Kaula Bali Leather Craft Workshop?
I think you should book it if you want a day in Bali that rewards patience. The process is structured, you get genuine customization (leather texture, dye, thread, and hardware), and you leave with a finished item—often something you can use daily.
Skip it if you’re only looking for a low-effort souvenir, or if hot weather and a full 6 hours of concentration don’t sound fun.
If you’re on the fence, here’s a simple way to decide: ask yourself whether you’d rather bring home a crafted wallet or cardholder made with your own hands, or another item you’ll forget in a drawer. If the first one sounds better, this workshop is a very solid pick for Seminyak and nearby Canggu.
FAQ
How long is the Bali Leather Craft Workshop?
It lasts about 6 hours (approx.).
What time does the workshop start?
The start time is 10:00 am.
Where do I meet for the workshop?
You meet at Kaula Bali, Gg. Yogya, Kerobokan Kaja, Kec. Kuta Utara, Kabupaten Badung, Bali 80361, Indonesia.
What will I learn and make during the class?
You’ll learn the process from cutting the pattern to adding color, preparing for stitching, sewing by hand, polishing edges, applying varnish, and adding finishing touches like snaps or buttons. Your finished item can be something like a wallet, purse, belt, or jewelry.
Is it a private activity?
Yes. It’s a private tour/activity, so only your group participates.
What do I need to know about tickets and transport?
A mobile ticket is used, and the meeting point is near public transportation.
Can I cancel for a full refund?
Yes. You can cancel up to 24 hours in advance for a full refund. If you cancel less than 24 hours before the start time, you won’t receive a refund.