REVIEW · SEMINYAK
Bali Seminyak Silver Class Activity and Take Your Own Creation
Book on Viator →Operated by Big Tree Jewelry Classes · Bookable on Viator
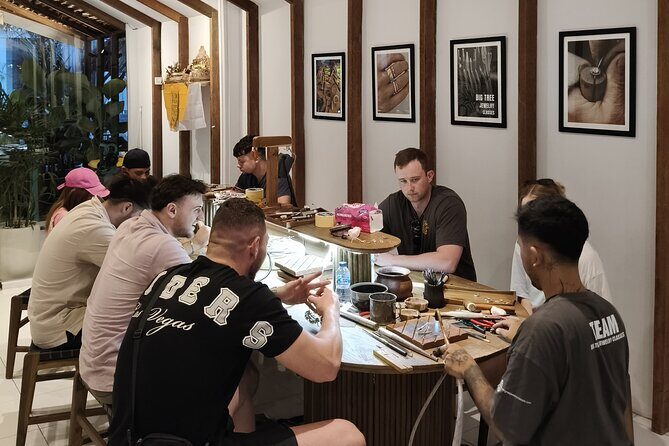
A silver jewelry workshop sounds niche. In Seminyak, it turns into a smart souvenir plan with hands-on tools and real studio instruction. I like the small group setup (max 15) for more attention, and I also like that the class includes up to 6 grams of pure silver plus tools and bottled water. One consideration: you’ll be working with metal-making tools, so it’s not wheelchair accessible.
You’ll meet at the Padi Jewelry Classes studio near Kerobokan/Kuta Utara, check in, and use the free Wi‑Fi while you wait. The teaching style is patient and practical, with instructors like Abi and Putu specifically mentioned as friendly and informative. With a 2-hour time window, you’ll want to arrive ready to choose a design and start making.
In This Review
- Key things to know before you go
- Seminyak: A practical base for a hands-on silver souvenir
- Arriving at Padi Jewelry Classes and getting set up
- The 2-hour flow: how your design becomes a real piece
- Tools and techniques you’ll actually try
- Silver weight (1–6 grams) and what it means for your design
- Air-conditioning and bottled water: small comforts that matter
- Gold plating as an upgrade: when it’s worth extra cost
- Price and value: is $46.43 a fair deal?
- Location, getting there, and when timing works best
- Who this class is perfect for (and who should reconsider)
- Should you book this Bali Seminyak silver jewelry class?
- FAQ
- How long is the Bali Seminyak silver jewelry-making class?
- How much does the class cost?
- How many people are in the group?
- What’s included in the price?
- Is gold plating included?
- Do I need to bring my own transportation?
- Is there Wi‑Fi at the studio?
- Is the studio wheelchair accessible?
- Are meals included?
Key things to know before you go
- Max 15 people means you get help when you hit a snag
- Free studio Wi‑Fi so you can look up ideas or messages while you’re waiting
- Silver included (1–6g) for your 1 jewelry design
- Hands-on tool time with grinding, saws, files, plus techniques like stamping and hammering
- Air-conditioned workshop keeps you comfortable for the full session
- Gold plating option available for an added charge
Seminyak: A practical base for a hands-on silver souvenir
Seminyak is a convenient choice for a workshop like this. You get easy access to the rest of the island’s sights without feeling like you’re commuting across Bali just to make one piece of jewelry.
The meeting point is in Kerobokan Kelod, Kuta Utara, at KōsameJl. Mertanadi No.82 (Bali 80361). The class also says the location is near public transportation, so you’re not stuck hunting for complicated private transfers just to arrive.
Most importantly, this is a short class. About 2 hours keeps it from swallowing your day—perfect if you’re also planning beach time, temples, or a simple dinner out after.
You can also read our reviews of more tours and experiences in Seminyak

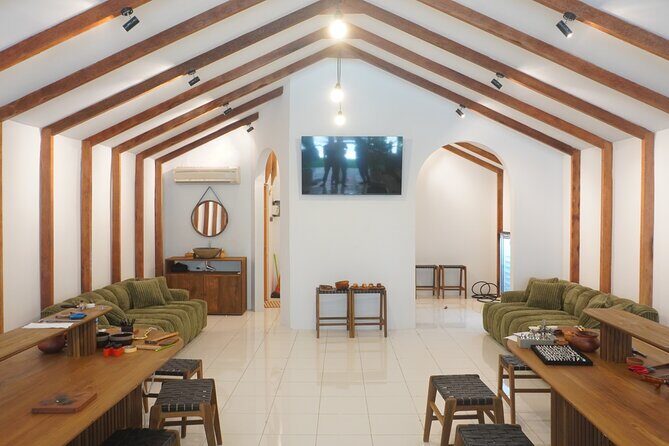
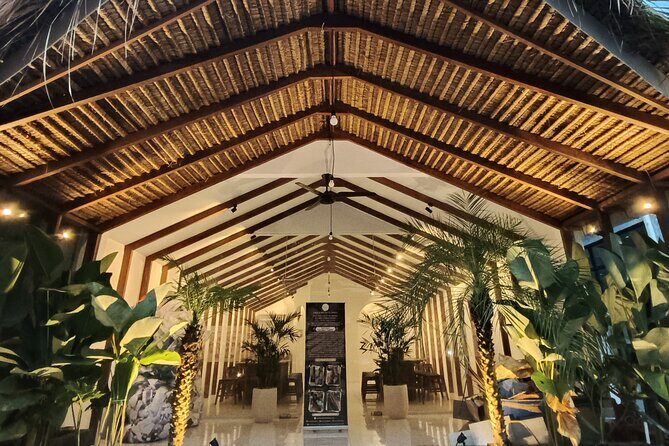
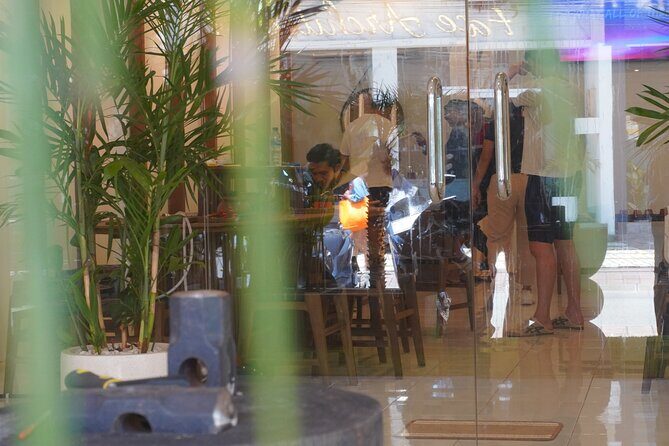
Arriving at Padi Jewelry Classes and getting set up
Check-in is at the Padi Jewelry Classes studio in Seminyak. Once you’re in, you’ll wait in a comfortable, air-conditioned room and get oriented before you start crafting.
A small but real win here is the free Wi‑Fi. If you’re still deciding what you want to make—or you want to message someone back home with progress pics—you can do it without buying a mobile data plan just for this stop.
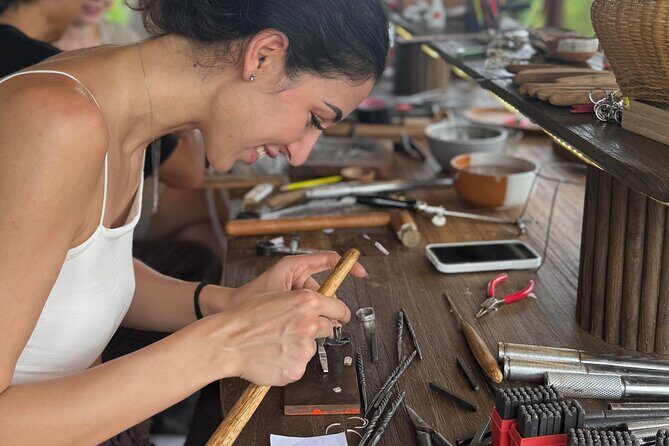
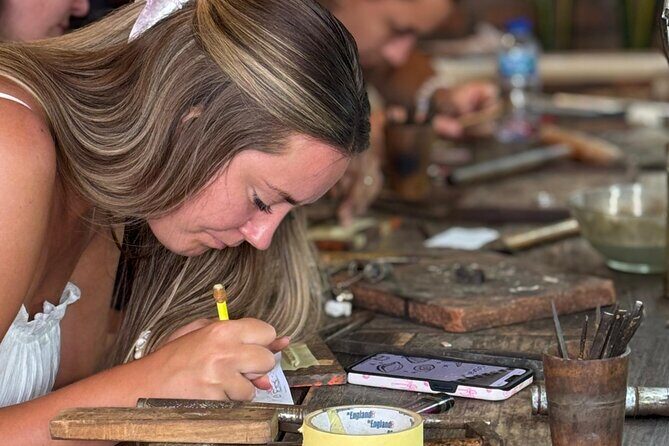
The studio is equipped for actual metalwork, not a demo-only experience. You’ll use tools like grinding wheels, jeweler’s saws, and files, plus techniques such as stamping and hammering. That means you’ll leave with a piece you made through the full process, not just a pre-made component.
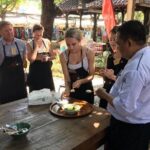
The 2-hour flow: how your design becomes a real piece
The workshop starts with you coming in, checking in, and settling into the waiting area. Then the silversmith instructor walks you through the steps and guides you while you craft your jewelry.
You’ll create 1 jewelry design, using 1 to 6 grams of silver (pure silver) provided for your piece. That range matters because it directly influences what you can realistically finish in the time you have. If you’re thinking of something chunky or highly detailed, it’s better to keep your concept simple so you can complete polishing by the end.
Expect a full sequence. The class covers the process from concept to finishing steps, including polishing at the end. In practice, that’s what separates a souvenir from a keepsake: taking a raw material and bringing it to a clean, wearable surface.
The short duration is also why your choice at the start matters. Once the session begins, you’ll be moving through steps that require concentration and time—so pick a design you can commit to quickly.
Tools and techniques you’ll actually try
This isn’t the kind of class where you mostly watch. You’ll use professional jewelry making tools, and the teaching focuses on letting you do the work.
From the information provided, you can expect tool work that may include:
- Grinding wheels for shaping and refining
- Jeweler’s saws for cutting details
- Files for smoothing edges
- Stamping and hammering techniques
Why this matters: those actions are the core skills behind most small silver jewelry styles—rings, small pendants, and simple stamped patterns. Even if your final piece is modest, you’ll learn how metal behaves while you work it. That helps if you later want to make another item or adjust the style next time.
Also, using a real tool set in an air-conditioned studio makes it easier to stay focused. Hot, humid conditions can slow you down. Here, the studio’s built for comfort during fine work.
Silver weight (1–6 grams) and what it means for your design

The class includes 1–6 grams of pure silver for your 1 jewelry design. For most people, this is the sweet spot for a first attempt: enough metal to make a solid souvenir piece, but not so much that the project becomes too heavy or expensive to finish within 2 hours.
A helpful way to think about the silver limit:
- If you aim for a simple shape, you’re more likely to use the lower range and still finish polishing well.
- If you want a slightly fuller or more detailed design, you’ll lean toward the higher end and should keep the concept focused so you don’t run out of time.
If you’re unsure what will fit, take advantage of the free Wi‑Fi before you start. You can compare design references quickly and choose something that matches the kind of outcome you’re hoping to wear or give as a gift.


Air-conditioning and bottled water: small comforts that matter
Metalwork can be hands-on and concentrated. You’ll be standing and working through tool steps, then switching into finishing tasks. The class includes an air-conditioned studio environment, which is a quiet quality-of-life upgrade in Bali.
You also get bottled water. It sounds basic, but it matters during a session where your focus is on careful movements. Staying hydrated makes it easier to keep control while shaping and refining.
These details don’t show up in a brochure as much as the silver does—but they can decide whether the experience feels relaxed or stressful.
Gold plating as an upgrade: when it’s worth extra cost
There’s an option to add gold plating with an additional charge. The class also mentions an option to join an evening class, but the specific upgrade pricing and plating steps aren’t detailed in what you’ve been given.
Still, here’s how to judge whether gold plating is worth it for your piece:
- If you want your silver souvenir to look closer to the gold jewelry you might already own, plating can make it feel more versatile.
- If your goal is a classic silver look, you can keep it straightforward and let your stamping/polishing do the work.
The best move is to pick your base design first. Then decide whether a warmer color finish matches what you actually want to wear after the workshop.
Price and value: is $46.43 a fair deal?
At $46.43 per person, this workshop prices like a hands-on souvenir experience that includes real materials and professional tools.
Here’s what’s included:
- 1–6 grams of pure silver for your 1 jewelry design
- Professional jewelry making tools
- Bottled water
- Air-conditioned studio environment
- Free Wi‑Fi access
What’s not included:
- Meals
- Private transportation
In other words, you’re paying for the studio time, instruction, tool access, and the silver material needed to finish a piece. Because the class duration is about 2 hours and the group size is limited, the fee feels more like a focused workshop than a casual tourist craft.
If you were to buy materials and pay for studio access on your own, the overall math often gets harder. So if your priority is a wearable souvenir you can point to and say I made this, the included silver and tools make the price feel more grounded.
Location, getting there, and when timing works best
The start point is KōsameJl. Mertanadi No.82, Kerobokan Kelod, Kuta Utara, Badung, Bali. The activity ends back at the meeting point, so you’re not dropped off somewhere far away and left to guess your route.
The class offers a huge choice of class times, which is important in Bali. You can match it to your energy level: do it earlier when you’re sharp, or late in the day if you want a relaxed activity between sightseeing and dinner.
One practical tip from the experience details: the studio is easy to locate, and people arrive using their own motorbike in the area. If you’re renting a scooter, build in a little buffer time so you don’t rush your check-in.
Who this class is perfect for (and who should reconsider)
This silver class is a strong fit if you want:
- A personal souvenir you genuinely made
- A hands-on activity that’s not just watching a demo
- A short plan that won’t steal your whole day
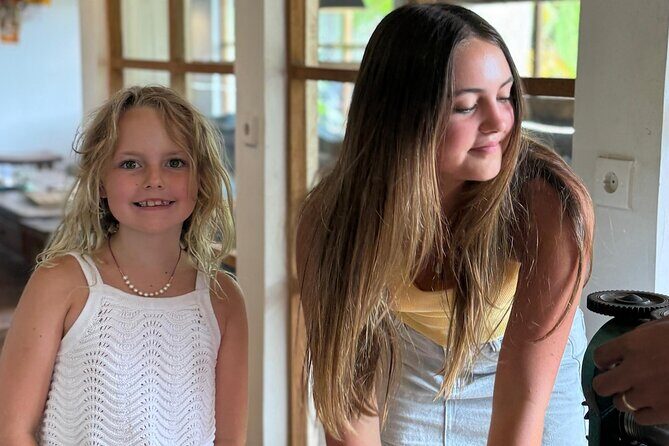
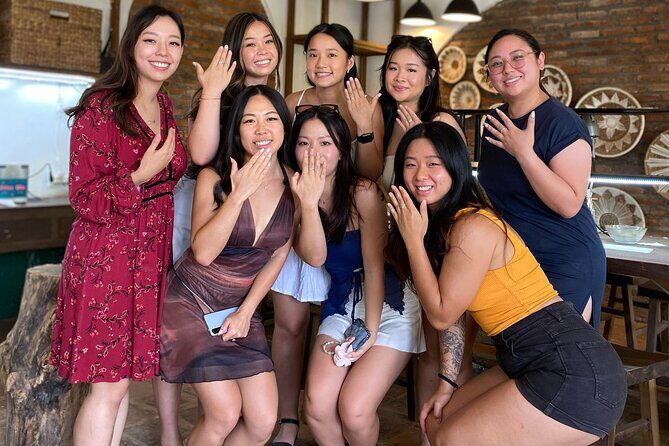
It also works for families, since the instruction style is described as patient and the experience is hands-on. If you can handle tool-based crafting safely and follow guidance, you’ll likely enjoy the process.
You might reconsider if you:
- Want a fully seated, low-effort experience with no tool work
- Need wheelchair access (the workshop is not wheelchair accessible)
- Are expecting meals included, since none are provided
Should you book this Bali Seminyak silver jewelry class?
If you’re shopping for Bali souvenirs, I think this is one of the better directions you can take. The mix of small group attention, included silver, and a true tool-based process makes it feel like a real workshop, not a quick craft station.
Book it if:
- You want something wearable that’s clearly made by you
- You like structured instruction but still want creativity
- You’re staying in or near Seminyak/Kerobokan and want a short activity
Skip it if:
- You want a fully passive experience
- You’re short on time and can’t handle a 2-hour commitment
- You need wheelchair access
FAQ
How long is the Bali Seminyak silver jewelry-making class?
It lasts about 2 hours.
How much does the class cost?
The price is $46.43 per person.
How many people are in the group?
The class has a maximum of 15 travelers.
What’s included in the price?
You get bottled water, free Wi‑Fi, 1–6 grams of pure silver for 1 jewelry design, professional jewelry making tools, and an air-conditioned studio environment. Gold plating is an optional extra.
Is gold plating included?
Gold plating is available as an option for an additional charge.
Do I need to bring my own transportation?
Private transportation is not included. The location is near public transportation, and the activity ends back at the meeting point.
Is there Wi‑Fi at the studio?
Yes. The studio offers free Wi‑Fi access.
Is the studio wheelchair accessible?
No. The place is not wheelchair accessible.
Are meals included?
No. Meals are not included.